Anatomy Lesson #10: The Back.
Happy New Year to all of you! I’m a wee bit late posting this because I just returned from my trip to Fraser’s Ridge country. It was a verra beautiful region. I can see why Jamie and Claire made their home there.
Welcome to all newcomers and thanks to all those returning to learn about Anatomy Lesson #10: The Back. Because our red-haired hero is so utterly braw, I will use many images of Jamie to teach this verra important topic.
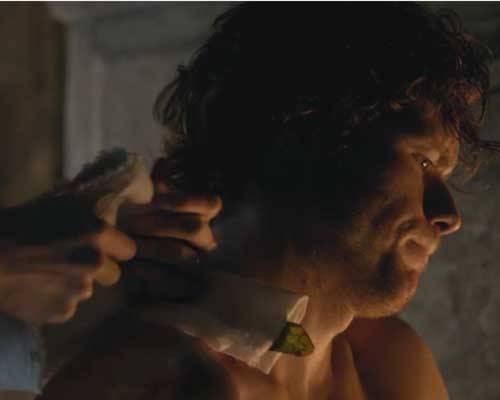
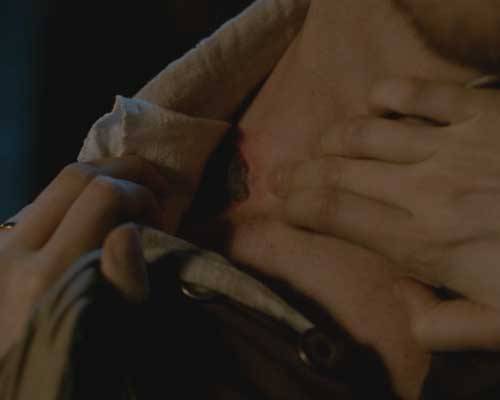
Claire first sees Jamie’s back in Starz episode 102, Castle Leoch, as she removes the blanket to clean his gunshot wound. Herself writes in Outlander book:
“I had finished the bandaging and stood quiet behind him, a hand resting on his good shoulder… His upper back was covered with a crisscross of faded white lines. He had been savagely flogged, and more than once. There were small lines of silvery scar tissue in some spots, where the welts had crossed, and irregular patches where several blows had struck the same spot, flaying off skin and gouging the muscle beneath.”
Then says Jamie:
“Lobsterbacks. Flogged me twice in the space of a week. They’d ha’ done it twice the same day, I expect, were they not afraid of killing me. No joy in flogging a dead man.”
I wish I could work off a blank canvas of Jamie’s back before it was scarred by that mad bastard Randall! Fact is we have only a brief and limited glimpse at Lallybroch (Starz episode 102, Castle Leoch) as Black Jack administers his first whipping of our brave hero. Ugh!
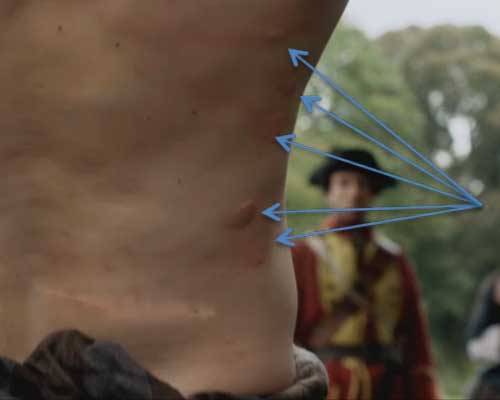
Now, take a wee gander at Jamie’s back after the first blow. The blue arrows mark welts or wheals! Our Starz Jamie has verra fair skin and these swellings appear to be real. Wheals are typically initiated by an allergic response or tough handling such as pressure, blows or friction. Mayhap Jamie was handled a wee bit roughly during this scene?
Back: Now, in anatomy, the human back is defined as the large area from the base of the head to the tail bone (Photo A). It is widest at the shoulders, narrows at the rib cage and ends as a “V” between the buttocks. The topographical (surface) anatomy of a well-muscled back displays a mess of lumps, bumps and valleys created by underlying muscles, etc.
The two black arrows in Photo A mark a prominent vertical midline groove, the posterior median furrow. You should also understand that for protection, back skin is thicker and has fewer nerve endings than, for example, belly or chest skin. It is also an area that we cannot typically see or touch without aid of mirrors, photos, or yoga practices. Namaste!
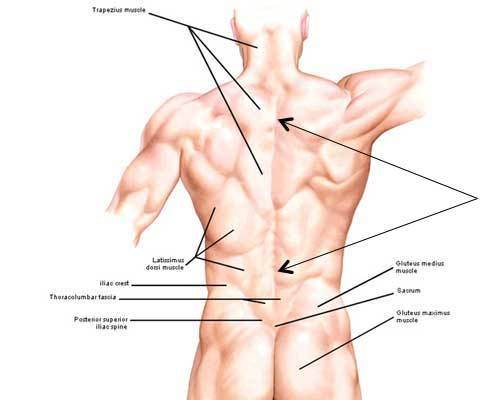
Photo A
Now, sans the skin, let’s take a peek at the superficial structures creating back contour (Photo B). The paired trapezius muscles (Anatomy Lesson #3) cover the upper back. You recall they take origin (begin) from bones of the skull and spine but they insert (end) on clavicle and scapula; acting together or separately, they these bones. Latissimus dorsi muscles cover the lower back. They also take origin from bones of the back but insert on and move the humeral bones (Anatomy lesson #2). Gluteus maximus and Gluteus medius (Anatomy lesson #1) muscles appear to be part of the back but they form most of the buttocks and belong to the lower limbs. The V-shaped depression at the base of the spine (white area) is the thoracolumbar fascia flanked by the gluteal muscles and iliac crests. The thoracolumbar fascia is a strong sheet of collagen that gives origin to back and abdominal muscles (cover in a later post). The iliac crest forms the top of each hip bone. The vertical midline groove (see Photo A) is created by the spine as it adheres to the dermis of the skin (Anatomy Lesson #5 & Anatomy Lesson #6).
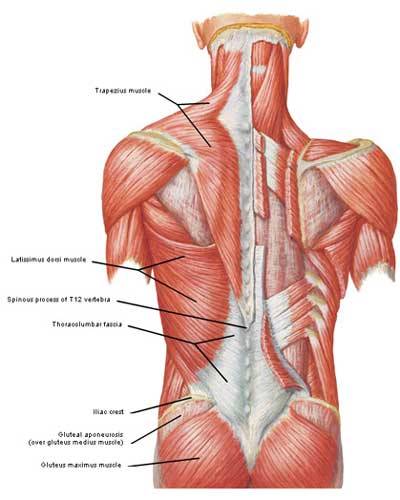
Photo B
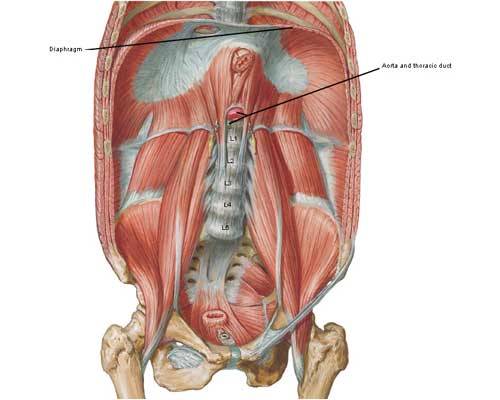
Removal of the superficial back muscles exposes the deeper erector spinae muscles (Photo C). They attach to the spine and ribs. In the physically fit, they are visible as thick longitudinal columns of muscle flanking each side of the spine. Their function is to arch or extend and rotate the spine (see below). Again, although seemingly part of the back, the buttocks and their gluteal muscles are actually parts of the lower limbs.

Photo C
The length of the back is determined by the spine or vertebral column which extends from the base of the skull to the tail bone (green in Photo D).
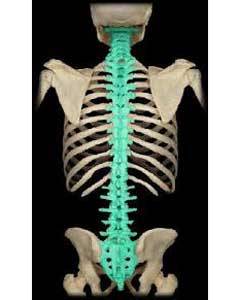
Photo D
The vertebral column forms the bony central axis of the back (Photo E). Five regions are identified from the cephalic end (Greek meaning head) to the caudal end (Latin meaning tail): cervical, thoracic, lumbar, sacral and coccygeal. There are 7 cervical (C 1-C7), 12 thoracic (T1-T12), 5 lumbar (L1-L5), 5 sacral (S1-S5) and 4 coccygeal (Co 1-Co4) for a total of 33 vertebrae (Photo E).
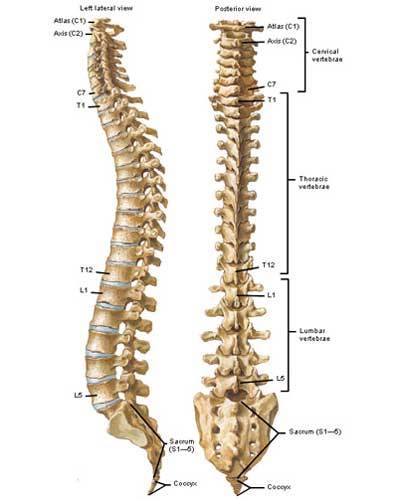
Photo E
A typical vertebra (some are atypical) shows the following main features (photo F): a spinous process that projects posteriorly and provides ligament and muscle attachments; a cylindrical body that is flanked top and bottom by intervertebral (IV) discs; paired transverse processes (black arrows) that provide for muscle and ligament attachments; and a hole known as a vertebral foramen.
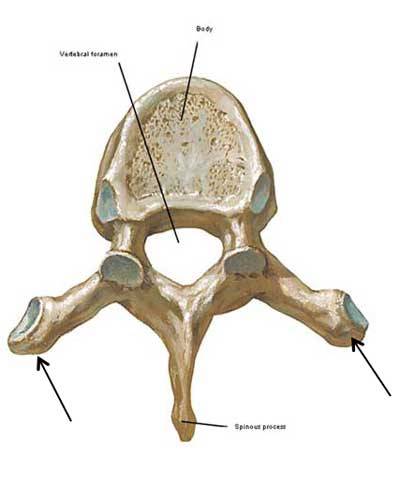
Photo F
The vertebrae of an intact spine are aligned and held in check by numerous powerful ligaments, connective tissue bands that link bone to bone (Photo G – don’t fash about their names).
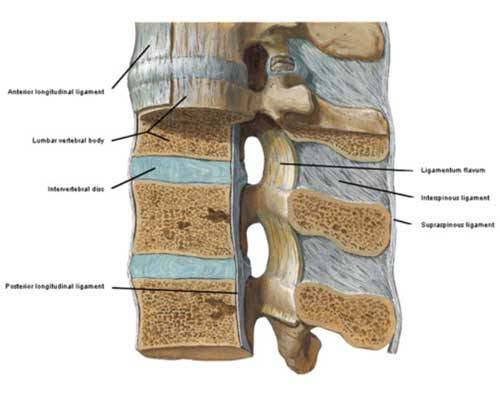
Photo G
This arrangement makes the vertebral column strong, flexible and springy! It also allows for a considerable amount of movement including lateral (side bending) flexion, twisting (rotation), and anterior (forward) flexion (Photo H):

Photo H
And, for spinal extension (Photo I):

Photo I
Vertebral alignment also converts individual vertebral foramina into a vertebral canal that houses and protects the spinal cord. Photo J is a schematic of the spinal cord inside the vertebral canal (only a few vertebrae are numbered). The colored coded regions give rise to spinal nerves issuing in pairs from cervical, thoracic, lumbar, sacral and coccygeal levels of the spinal cord; the nerves supply structures of the neck, trunk, upper limbs and lower limbs.
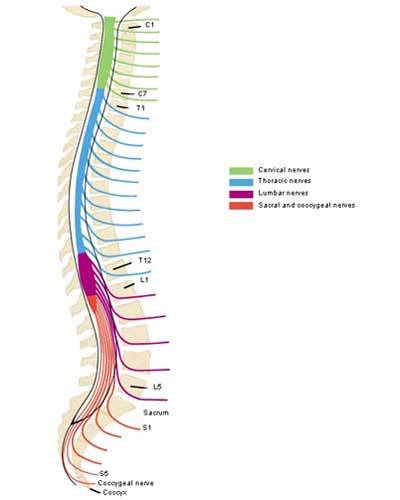
Photo J
The thoracic vertebrae are unusual in that they are directly anchored to the ribs and indirectly to the sternum (breast bone). This arrangement provides great stability and allows anterior flexion but little other movement (Photo K). Ribs in the image below are numbered but the thoracic vertebrae are not. Know that T1 vertebra articulates with the 1st pair of ribs and so on.
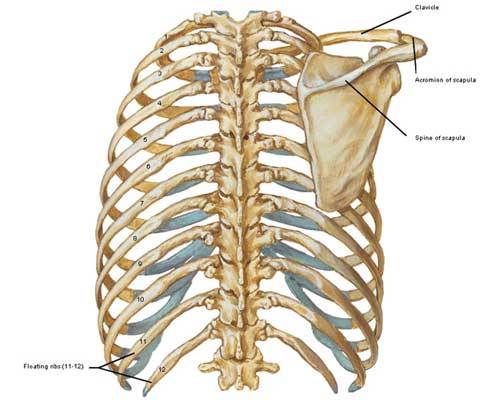
Photo K
Here’s an interestin’ tidbit: as bipedal humans, our spines transform during life. With infants, the entire spine is flexed anteriorly (Photo L – purple line).
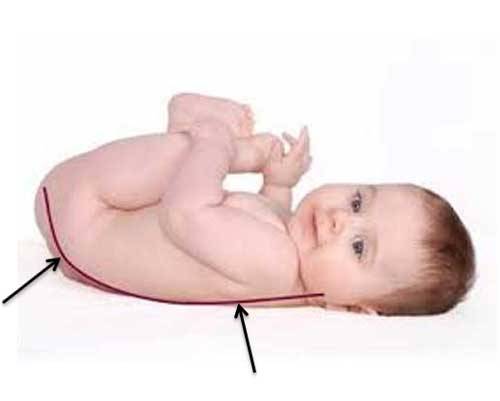
Photo L
As we lift our heads, sit up and walk, four alternating curvatures develop that are readily apparent in the adult spine. The cervical and lumbar vertebrae curve posteriorly – the thoracic and sacral vertebrae curve anteriorly (Photo M – spine viewed from the left side).
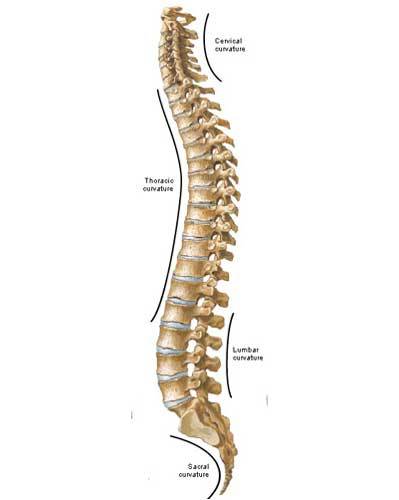
Photo M
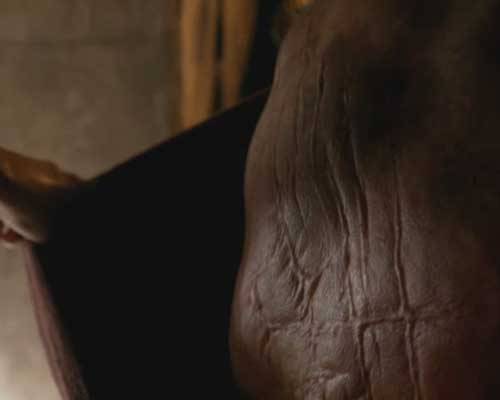
Take a deep breath and enjoy this image o’ Jamie’s back: ye can clearly see his thoracic and lumbar curvatures as well as the deep midline groove flanked by impressive columns of his erector spinae muscles (Starz episode 105, Rent). And, thank ye verra much but from now on, he’ll be mending his own shirt – since his tender Uncle Dougal keeps tearing it off in front of strangers! He doesn’t care if the lad wears rags from now on!
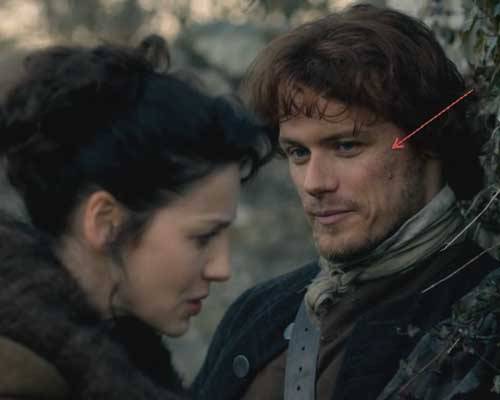
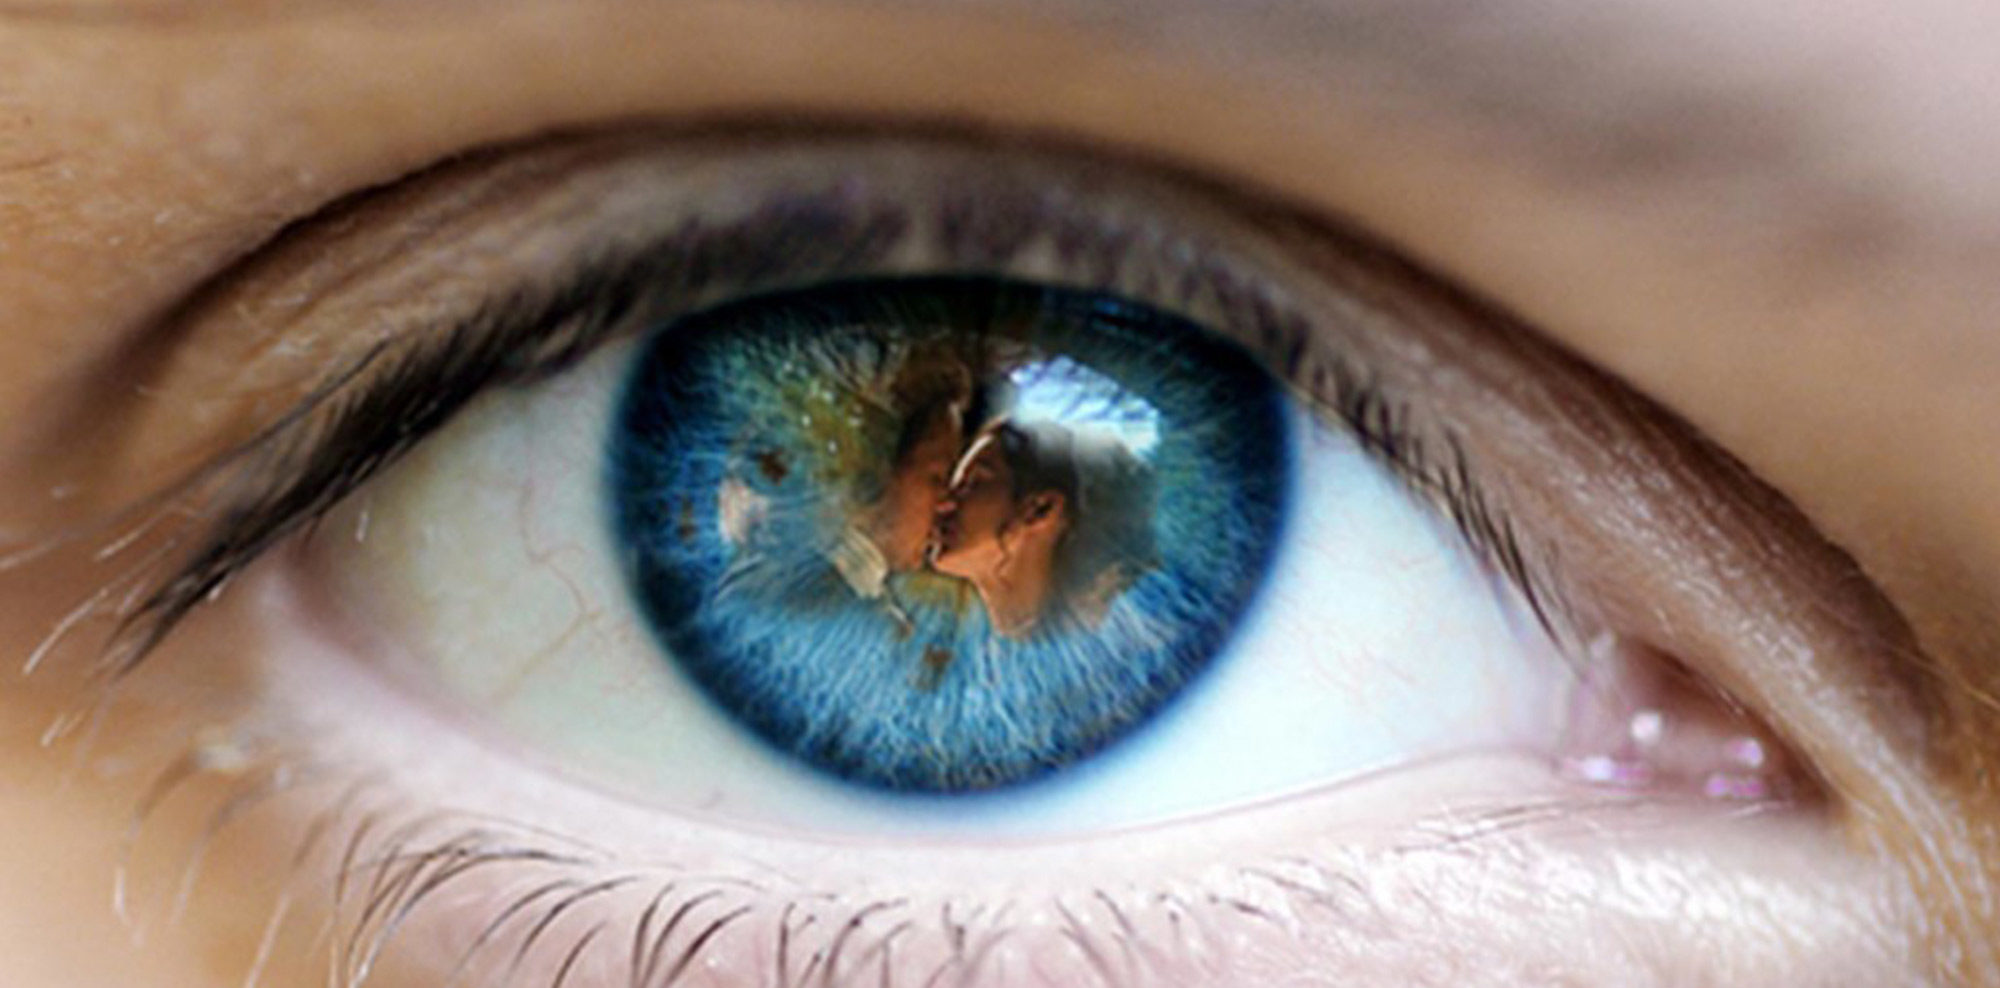
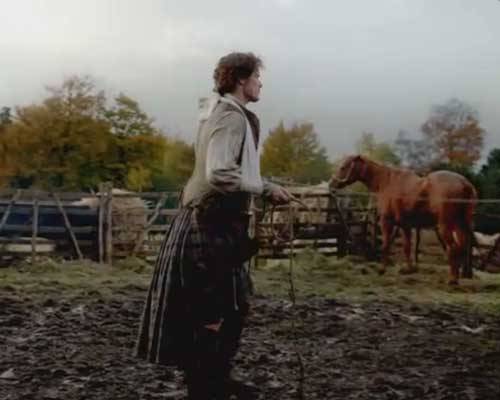
Now, Claire who makes love to Jamie with her eyes (and other stuff too) throughout all the Outlander books, observes that Jamie’s back is “as straight as an alder sapling.” She doesna mean that he lacks the four curvatures; she means that he holds his back upright and erect…good muscle tone, aye? Here’s a great example of Jamie’s back while playing with the fillies (Starz episode 2, Castle Leoch). Snort!
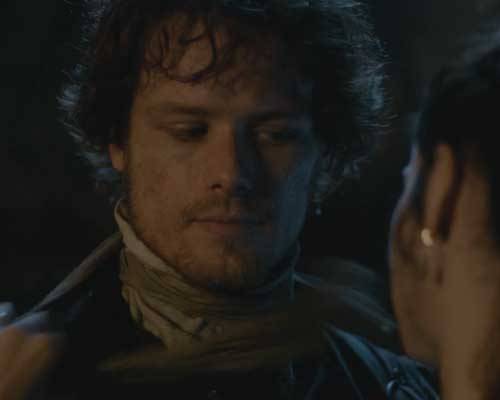
And, och, while giving the Watch the slip (Starz episode 5, Rent)!

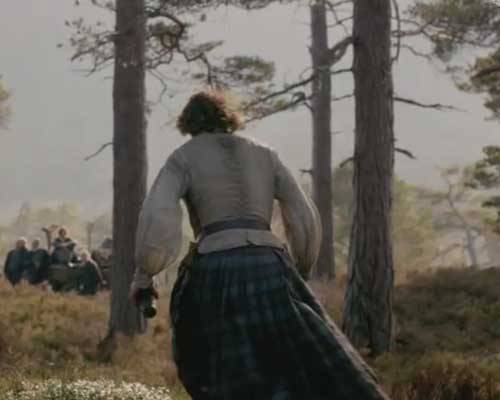
And one of my personal favorites where Jamie strides away from Claire after telling her that it is he who is virgin (Starz episode 106 The Garrison Commander)! One of them better ken what they’re doing! That put a wee gleam in Claire’s eye!
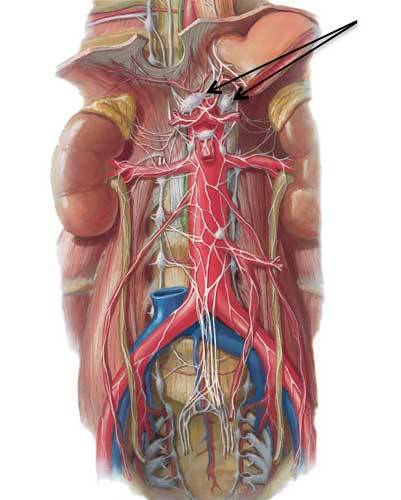
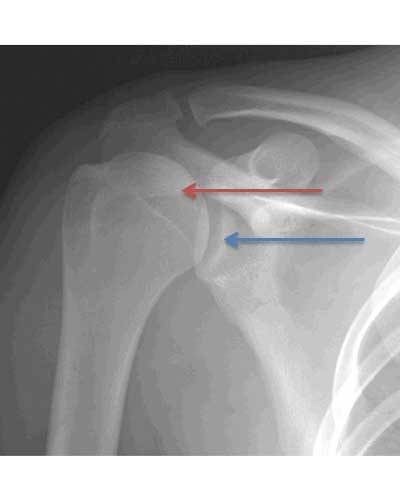
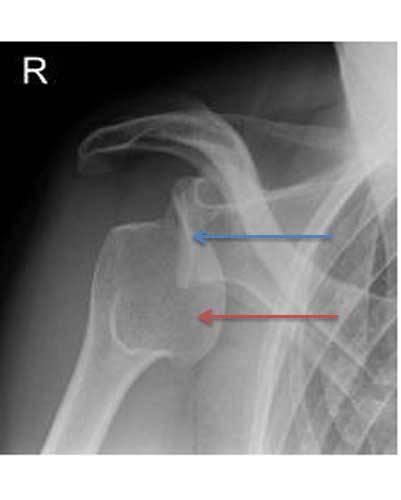
Now back ta anatomy. Another interesting tidbit about the vertebral column: at birth, the wedge-shaped sacrum consists of five separate vertebrae. Fusion begins in adolescence and ends about 30+ years explaining why the adult sacrum is counted as five vertebrae. Also, the sides of the sacrum articulate (form a joint) with each hip bone at the sacroiliac (SI) joints (Photo N – red arrows) to create a rigid pelvis. The purple arrows mark bilateral bony elevations o’ the hip bones known as the posterior superior iliac spines (PSIS).
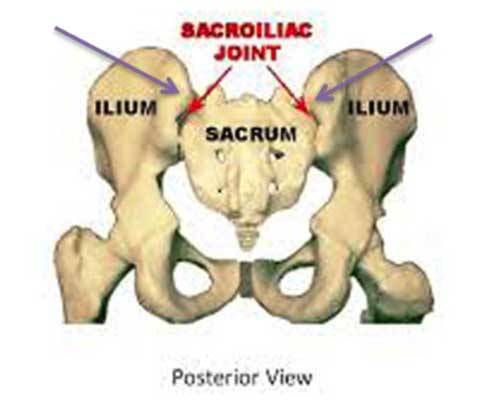
Photo N
The PSIS are also sites where the dermis adheres to underlying bone forming the so-called dimples of Venus (Photo O):
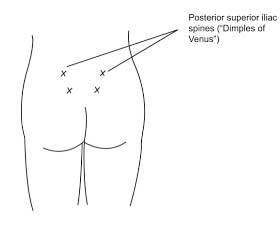
Photo O
Although the dimples appear in countless nude images, it turns out they aren’t just beauty marks; they are superficial and easily used for bone marrow aspirations (Photo P).
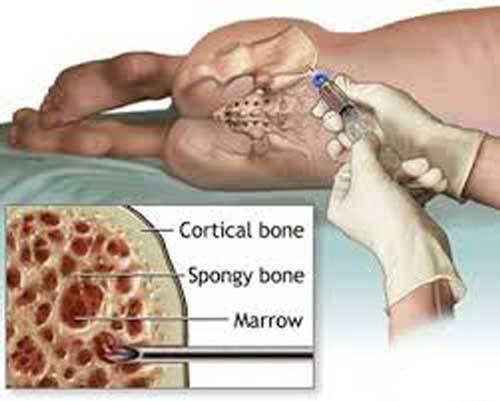
Photo P
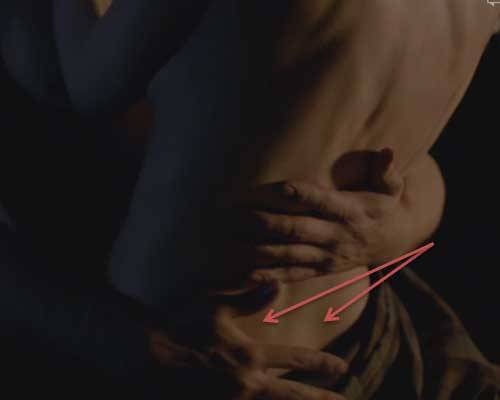
Hold on to your chair! Claire shows her dimples of Venus in this scene from Starz episode 107, The Wedding (red arrows)! Here, Claire guides Jamie’s hands to her hips and he starts to put his right fingers over her left dimple! Gasp, I think I just stopped breathing – need CPR STAT!
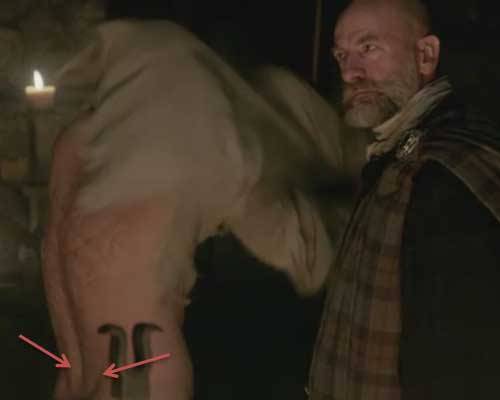
I cannot find any images of Jamie’s dimples of Venus but, aye, he’s got ‘em. It is just that they are absorbed into paired grooves where his lumbosacral fascia meets his very well-developed gluteus maximus and medius muscles (see Anatomy Lesson #1)! His butt muscles are so powerful that they create a groove on each side of the sacrum (Starz episode 105, Rent). Mmhm!
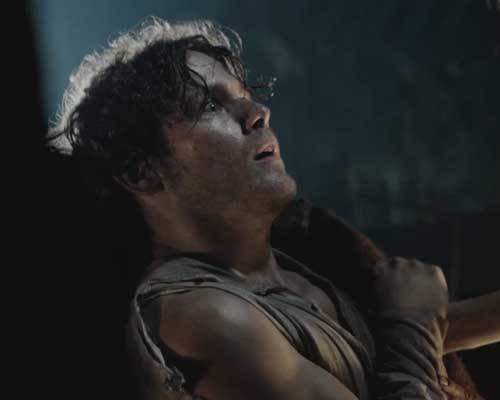
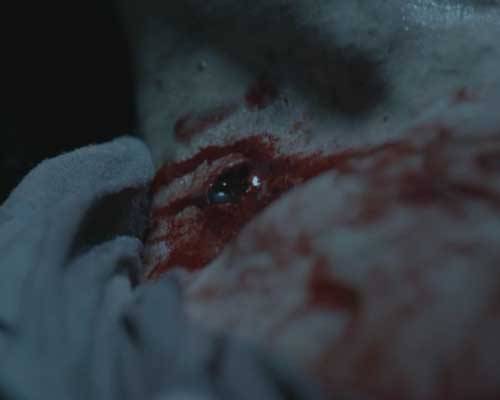
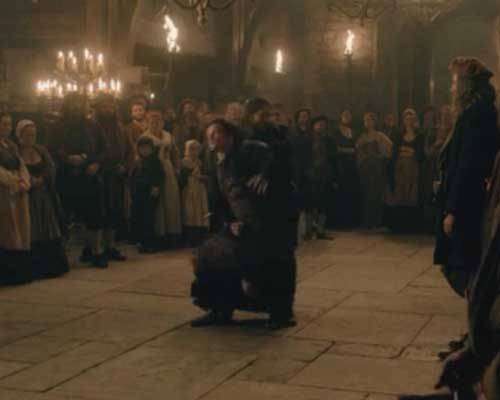
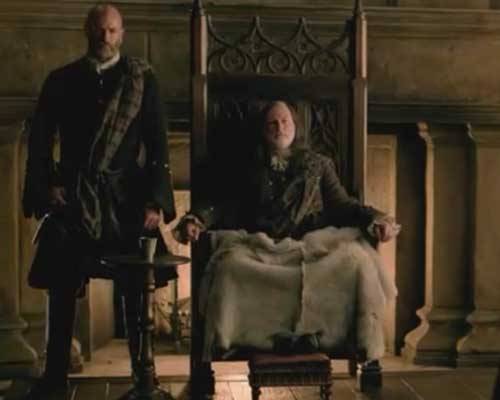
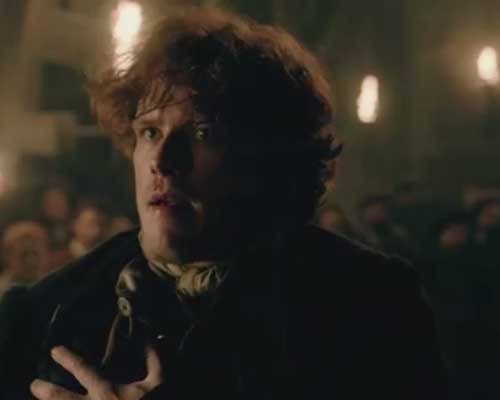
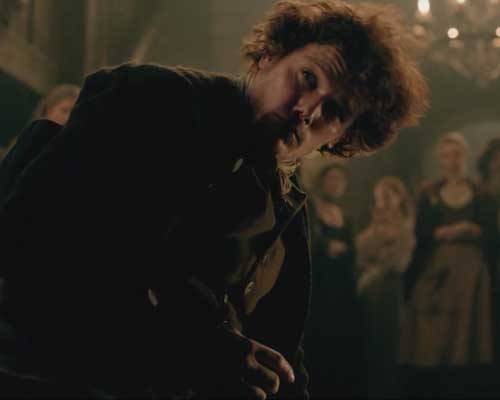
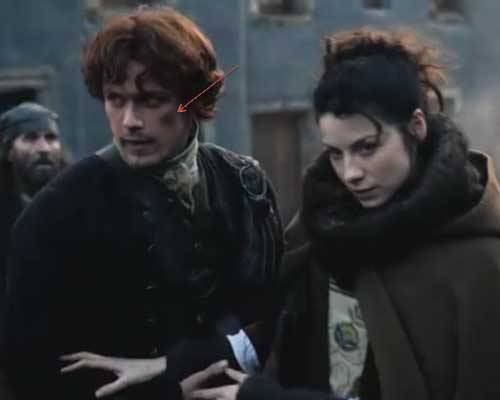
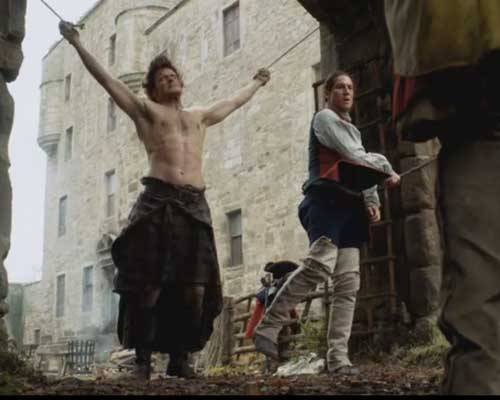
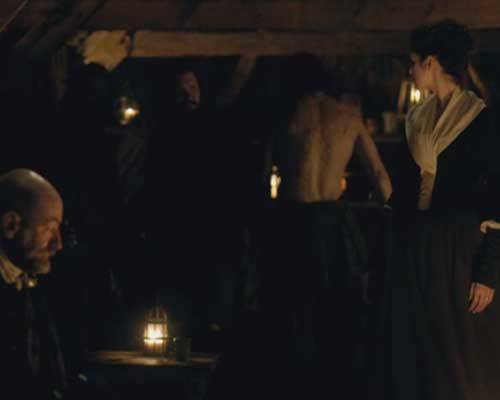
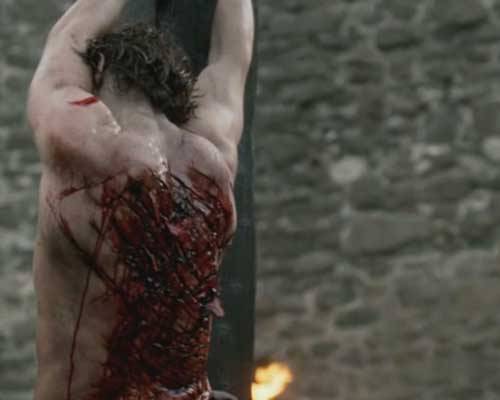
Now, this lesson must visit Jamie’s scourging by the Mad Man of Fort William! It breaks my heart to watch this episode (Starz episode 106, The Garrison Commander), but it is needful to understand. The harsh treatment of Jamie is not only a personal tragedy but is a harbinger of the approaching battle of Culloden and the subsequent crushing by the Redcoats of the Highlander way of life. You ken that Jamie had already received 100 lashes for trying to escape afore BJR decides he‘s due 100 more! The first strike of the whip causes the blood to flow freely because BJR is using the infamous Cat ‘o Nine Tails with lead weights at the tips! He means to bleed Jamie to the bone (You understand that if he had actually done so, Jamie would have been disabled or perhaps dead?)
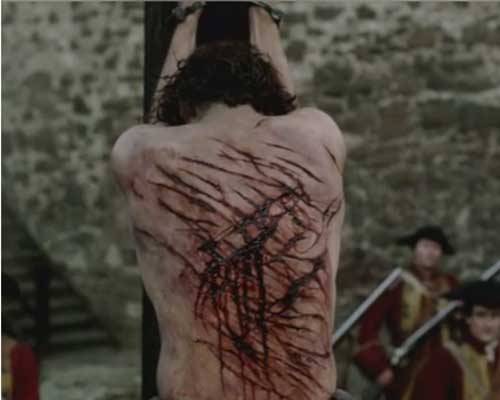
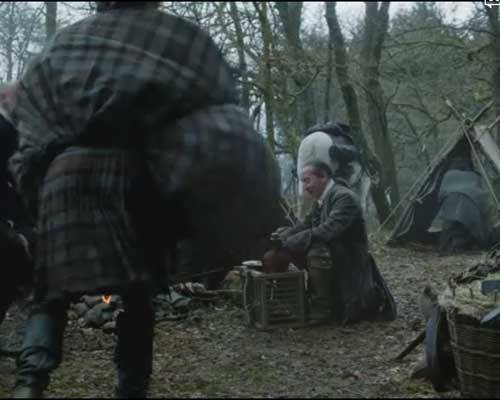
Ye can see why Jamie dubs him that “mad bastard Randall.” Just take a keek at Randall’s face and eyes. This is hard work, right? And just in case you didn’t notice, the blurry figure in the background is Black Brian, Jamie’s father, so named because of the color of his hair whereas BJR is named for the color of his soul!

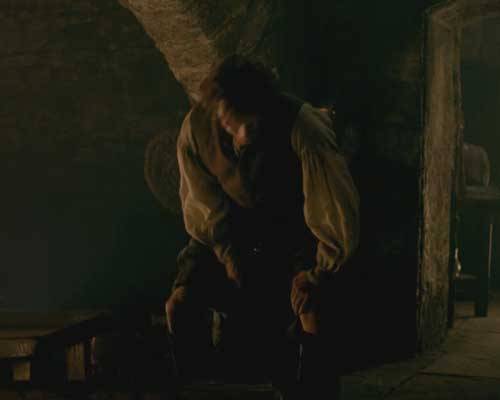
By the end, Jamie’s back looks like haggis. Little wonder he could barely sit astride a horse after his friends made shift to rescue him!
Herself provides another intimate appraisal of Jamie’s back in the Outlander book. Here, Jamie removes his shirt in Claire’s surgery after leaving Gwyllyn’s performance. The dressing is chaffing him and he asks her to remove it. Claire observes:
“He sat patiently, not moving as I circled behind him and inspected his back…I was appalled…The scars covered his entire back from shoulders to waist. While many had faded to little more than thin white lines, the worst formed thick silver wedges, cutting across the smooth muscles. I thought with some regret that it must have been quite a beautiful back at one time. His skin was fair and fresh, and the lines of bone and muscle were still solid and graceful, the shoulders flat and square-set and the backbone a smooth, straight groove cut deep between the rounded columns of muscle that rose on either side of it…I tried not to imagine the muscular arms raised…ropes cutting into wrists, the coppery head pressed hard against the post in agony…Involuntarily, I reached out, as though I might heal him with a touch and erase the marks with my fingers. He sighed deeply, but didn’t move as I traced the deep scars, one by one, as though to show him the extent of the damage he couldn’t see.“

Now, I must confess, this post wasn’t much fun because of its grim topic but history teaches us important lessons. During the Napoleonic Wars (1803-1815), soldiers in the British Army could receive up to 1,200 lashes, a number that could permanently disable or kill a man. The US followed a similar code and neither country abolished scourging until the late 19th century – a blot on both nations to be sure as scourging is intended to demean, humiliate and permanently scar its victims.
Flogging was also used during the US slavery period. The next photo taken at Baton Rouge in 1863 shows the back of Gordon (Photo Q), a scourged slave. His scars are pronounced because of keloid formation.

Photo Q
Lastly, let’s consider the importance of the back, the single largest canvas of the human body. It is the basis for many sayings focused on this area of vulnerability giving rise to idioms such as: “your back is against the wall”, “stab one in the back”, “friends have one’s back”, “watch one’s back” and “back off”. The back is also a symbol of strength and hard work, as in “back to work”, “strong back” and “put your back into it”. Indeed, the practice of showing explicitness on the back has been practiced for centuries through clothing, no clothing, art, tattoos and, in Jamie’s case, flogging.
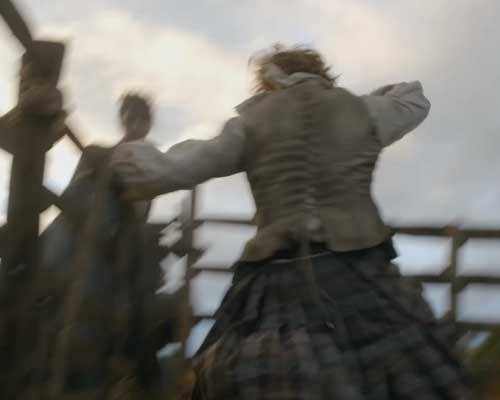
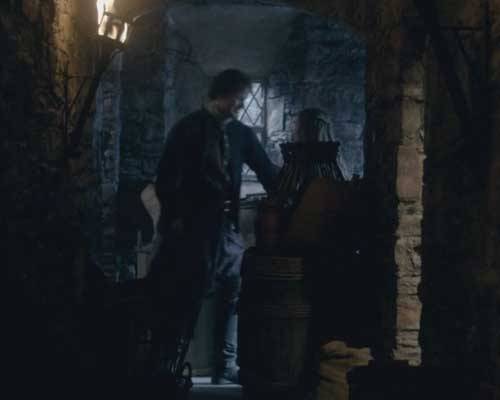
The back can also be used to telegraph emotion. In the next image, Claire has just snubbed Jamie (Starz episode 105, Rent) because he said her face plainly showed that she was thinking of running like she tried at the gathering. Well, she did ask, but Jamie doesn’t like the brush off so he flaps his plaid over his back in annoyance. It’s very funny! See Claire “back” there? She just slipped into her tent. Darn woman…doesn’t know what’s billowing behind her back!
OK, that’s it for the back. Next time I will post on a lighter topic…like Claire, I promise!
The deeply grateful,
Outlander Anatomist
Follow me on:
- Twitter @OutLandAnatomy
- Join my Facebook Group: OutlandishAnatomyLessons
- Instagram: @outlanderanatomy
- Tumblr: @outlanderanatomy
- Youtube: Outlander Anatomy
Photo Credits: Netter’s Atlas of Human Anatomy 4th ed., Netter’s Atlas of Human Embryology, 1st edition, Hollingshead’s Textbook of Anatomy, 5th ed., Starz, ainsleyjason.wordpress.com, www.sportsmed.or.nz, www.Radiopaedia.org, www.wikihow.com, www.Wikipedia.org, www.massgeneral.org, www.faculty.washington.edu, www.wikipedia.com, www.momarock.wordpress.com, www.imueos.wordpress.com, www.forums.hardwarezone.com.sq, www.pedsoncologyeducation.com, www.stemcelldoc.wordpress.com, www.hercampus.com, www.prevention.com