Anatomy Lesson #8: Solar plexus, Respiratory Diaphragm, Kidneys and Cheekbone
Now, that’s a whole lot of anatomy, but dinna get into a swivet; this lesson is dictated by Rupert’s beating of Jamie. Well, now, Jamie is a warrior who has a knack for getting himself into a mess o’ messes. Claire is a warrior too, only her battle field is healing!
Getting started, let’s review the healing Claire has given thus far for young Jamie – showing that she is a real Healer-Dealer and how that rascal Rupert undoes some of her warrior work!
In Starz episode #1, Sassenach, Murtagh captures Claire on Saturday – likely the same day Jamie dislocates his shoulder. Several hours pass before Claire reduces Jamie’s shoulder (see Anatomy Lesson #2). “Tá Dia (I think this is what he says) – it doesna hurt anymore!” exclaims Jamie. Ha, the Highlanders hadna a clue that a feral Sassenach cat could perform such miracles!
Claire and her captors ride through Saturday night and into Sunday when Jamie is shot at Cocknammon Rock (See Anatomy Lesson #3). Later that night, after fainting from lack of blood, Claire securely binds his wound so he doesna have to stay and determine his own fate wit’ a loaded pistol (Starz episode #1, Sassenach).
On Monday they arrive at Castle Leoch (Starz episode #2, Castle Leoch). Claire insists on properly cleaning and dressing Jamie’s gunshot wound (See Anatomy Lesson #3), all the while conducting a thorough counseling session fer the sad-lad! She also binds his right arm to his chest (thorax in anatomy) to immobilize the freshly reduced shoulder joint. What a caregiver!
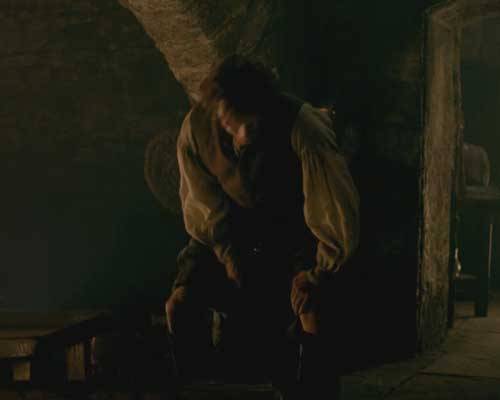
On Tuesday (Starz episode #2, Castle Leoch), Claire brings Jamie comfort in the form of lunch and fresh bandages but accidentally upsets his work at the stables. Jamie falls to his knees. Oooh, this clearly hurts his pride and mayhap messes a wee bit wit’ his injured shoulder? Oops, Claire better watch that hip padding – it gets in the way! After lunch, true confessions and a good deal of “facetime,” Claire begs Jamie not to get stabbed or flogged today.
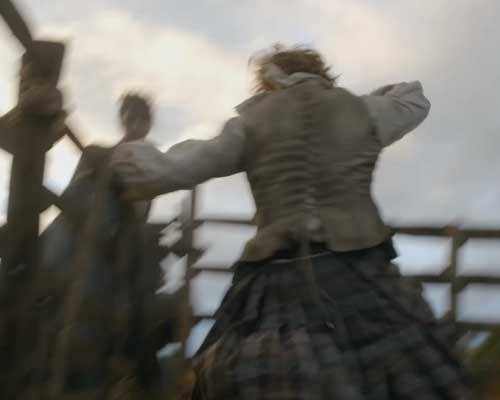
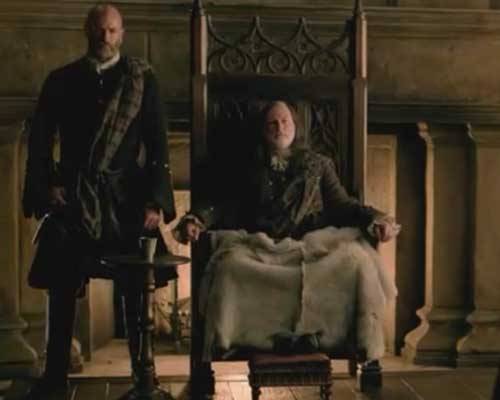
By Friday, after having been a good lad fer far too long Jamie gallantly steps forth at the Hall to take punishment for “damn-her-eyes” LiarHair who clearly has been a verra bad lassie (Starz episode #2, Castle Leoch). Ye’ll ken this is about six days after his shoulder dislocation and only five days since his gunshot wound! This is important because at this point new blood vessels are growing (angiogenesis), cells are dividing (mitosis) and collagen is forming (fibrogenesis) to help heal pulled ligaments and strained muscles; everything in Jamie’s shoulder is tender and sore. But, braw showman that he is, he chooses fists no the strap!
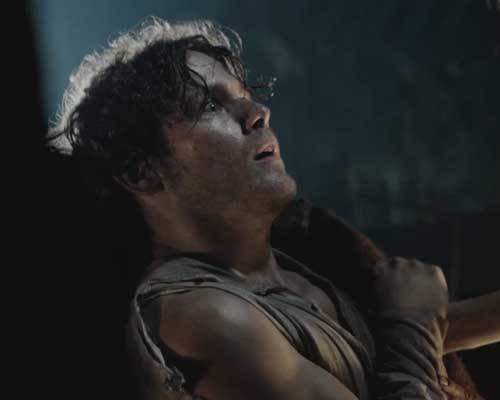
Laird Colum allows it. Rupert will administer the fisticuffs delivering two consecutive blows to Jamie’s belly!
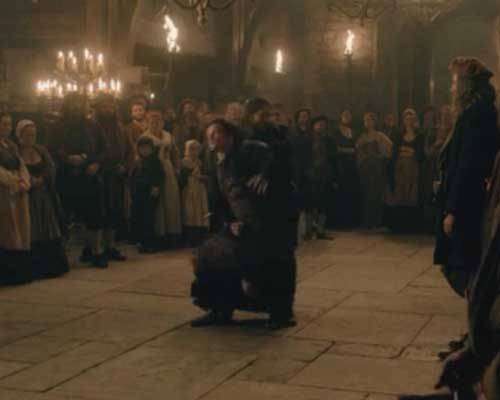
Now for some anatomy! Both blows strike Jamie in the pit of the stomach (Photo A). This type of blow affects three major regions of the body: the belly wall, the solar plexus and the diaphragm.

Photo A
As I will cover the belly wall in a future post, I won’t describe its full anatomy now. Suffice it to say that it is defined by the blue area seen in Photo B. In a warrior like Jamie, whose belly is very strong, two punches will not do much real damage. But consider the gut punch BJR gives Claire (Starz episode 6, The Garrison Commander) along with the belly kick by his weenie gopher. I suspect that Claire’s corset stays, several undergarments and that fabulous pleated tartan gown kept any real damage to a minimum; ye ken that each pleat includes three layers of wool? (Aye, Terry and her team create such splendid garments!)
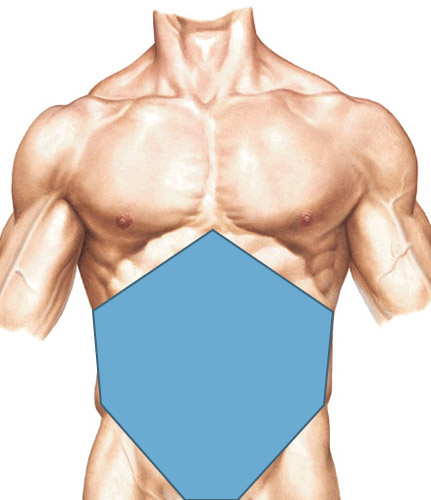
Photo B
Now, just behind the stomach lies the solar plexus (Photo C – surface anatomy), so named because it resembles a sunburst; anatomists call it the celiac (coeliac) plexus.
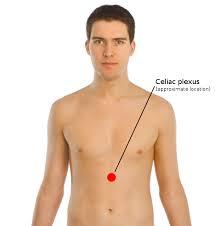
Photo C
To understand the celiac plexus, let’s first visit the aorta the largest artery of the human body (Photo D – posterior abdominal wall – from the front with organs removed). It begins in the chest, pierces the diaphragm and enters the abdominal cavity where it lies in front of the spine.
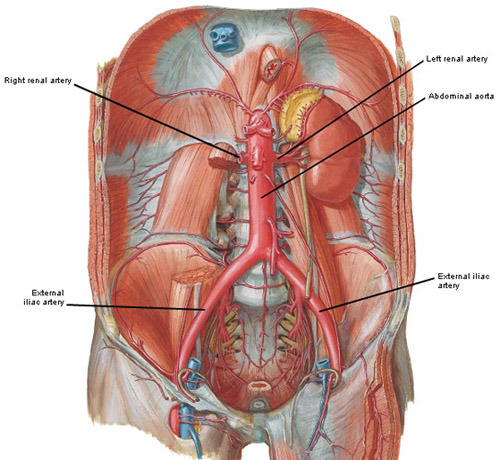
Photo D
The celiac plexus (Photo E – black arrows) wraps the front and sides of the abdominal aorta. The white blobs in Photo E are ganglia, swellings that house nerve cell bodies. The white strings are nerves; arising from the cell bodies they connect with other ganglia and supply organs (viscera). The nerves cause viscera to contract or secrete and also carry pain sensation back to the central nervous system. A blow to the belly can bruise the stomach, shock the celiac plexus, cause pain and potentially interfere with visceral function.
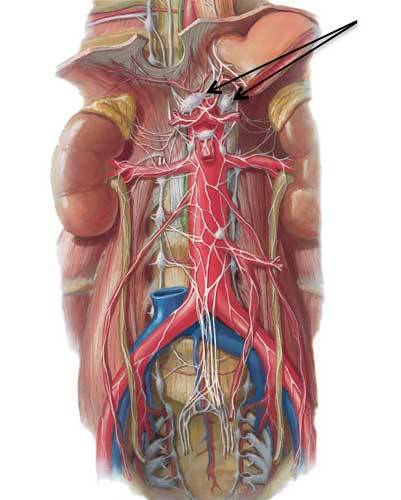
Photo E
Finally, the last body part vulnerable to a belly blow is the thoracic diaphragm, a dome-shaped sheet of muscle and tendon between the chest and the abdominal cavities that sits surprisingly high under the rib cage (Photo F – from the front showing cut edge of diaphragm). It is attached to the inner surfaces of breast bone, ribs and vertebrae and is a powerful muscle of respiration: as we breathe in (inspire) it descends, as we breathe out (expire) it rises. Blows to the belly wall cause temporary paralysis of the thoracic diaphragm making breathing difficult – the sensation of “getting the wind knocked out of you” and perhaps the most uncomfortable part of a gut punch! The spasm is accompanied by pain, anxiety and difficulty sitting or standing. But, as with Jamie, the spasm passes, breathing resumes and equanimity is restored.
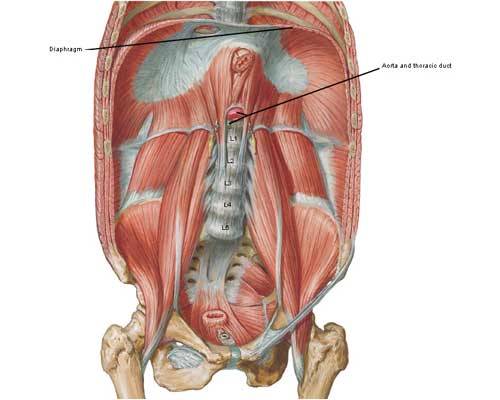
Photo F
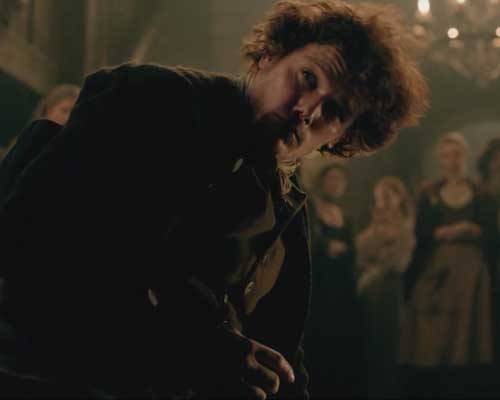
Moving on…Rupert circles around to Jamie’s back and delivers a third blow causing him to stagger! As ye well ken, this is a kidney punch and it is verra painful!
The kidneys are paired bean-shaped organs that produce urine, extract wastes, balance body fluids and are vital for normal life! Each day they filter about 189 liters (200 qt) of blood but produce only about 1.89 liters (2 qt) of urine because normally most all the fluid is resorbed. The urine flows into paired ureters then to the urinary bladder and is subsequently voided through the unpaired urethra (Photo G).
Photo G
A blow to the kidney is painful but not always serious (unless, of course, Claire’s stabbing ye in the back wit’ her sgian dubh!). Why? Weel, because the 11th & 12th ribs protect much of the left kidney and 12th rib protects part of the right (Photo H – from the back; kidney outlines shown as dashed lines). Also, strong back muscles absorb energy from a kidney punch. Kidney injury from blunt trauma ranges from bruising to serious tearing of tissues. Just so ye ken, blood in the urine is a good indicator of kidney trauma and the kidney punch is one of the meanest places to whack an opponent – although our fiery hero doesn’t seem that worse for wear.

Photo H
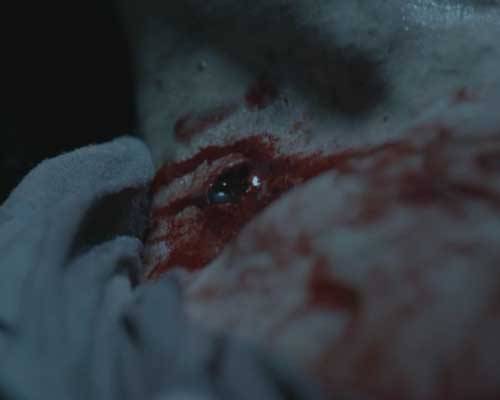
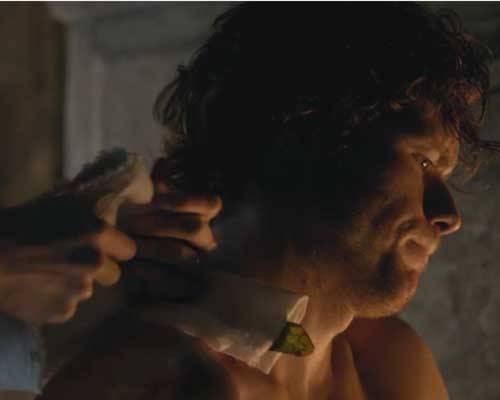
By now Rupert is sweating. So he checks wit’ his heid, “Dougal the Devil Man” ta see if it’s time to stop. Now, we all ken that Dougal is Colum’s war chief. So, take a peek at his menacing stance – splayed legs all covered wit’ his shiny high top boots. But, Dougal has no problem wi’ his nephew getting hurt and hurt badly. After all, the lad is still standing at this point and standin’ in the way of his best-laid plans. So Uncle Dougal directs Rupert to land a 4th blow – this time to Jamie’s face and blood splatters the slates. As there is another punch coming to Jamie’s face, I’m saving facial anatomy until blow #6! Read on!
Hey, now, I thought the beating was supposed to stop once blood was drawn. Geillis says so and we all know she never lies. Next, Rupert hauls back and lands a mighty one ta Jamie’s right shoulder!
So, what was Claire thinking through all this physical plundering? Herself writes in Outlander:
“I was in agony of apprehension, lest one of the blows re-damage the wounded shoulder…”
Too late Claire…Och, Rupert, that was brutal, man!
Time fer more anatomy, heh. The shoulder blow is bad news because there’s nay been enough time for the wounds to have healed properly. The next photo shows the proper alignment of a normal glenohumeral joint (Photo I: x-ray right shoulder). Part of the humeral head (red arrow) sits in the glenoid cavity of the scapula (blue arrow).
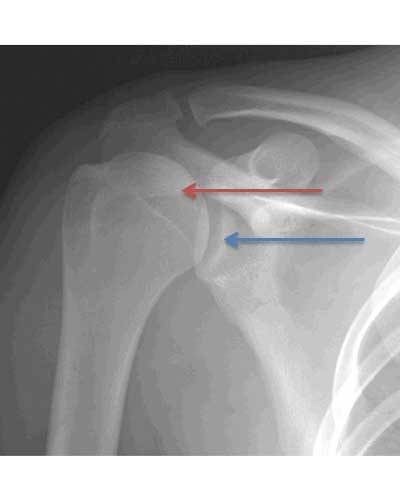
Photo I
Nearly a week earlier Jamie suffered an anterior dislocation of the glenohumeral joint (Photo J: x-ray right shoulder). Here, the humeral head (red arrow) is typically displaced forward (anterior) and down (inferior) from the glenoid cavity (blue arrow) as shown in the following x-ray. Claire restored the normal anatomy of the joint, but as we learned earlier, the whole area remains inflamed and tender. Ouch! It hurts just ta look at it.
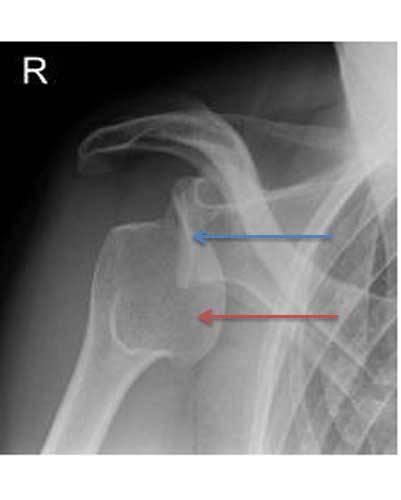
Photo J
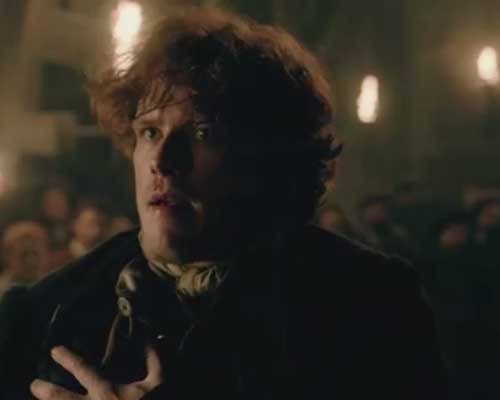
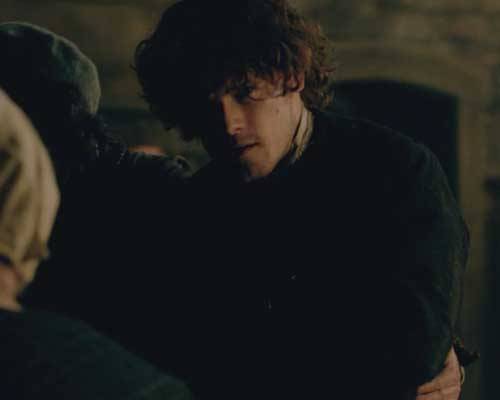
Finally, Rupert delivers the last punch to Jamie’s face and knocks him to the ground!
Now, ye best understand the damage these facial blows can cause! In anatomy, the cheek bone is the zygomatic arch (Photo K). With color-coded skull bones, ye can clearly see that the zygomatic arch is made of two bones: the pink part belongs to the temporal bone and the orange part to the zygomatic bone. The two bones meet at a jagged suture (non-moveable joint). Although strong, the suture is at risk for fracture.

Photo K
Also, the zygomatic bone forms the outer rim of the bony orbit where the eye is housed (Photo L). Both zygomatic arch and bony orbit are subcutaneous structures (see Anatomy Lesson #5 – The Skin) and vulnerable to injury. The fact that Rupert’s blow didn’t fracture either of these bony areas is probably due to the fact that Jamie’s head is harder than an iron pot – or so says his sister Jenny!
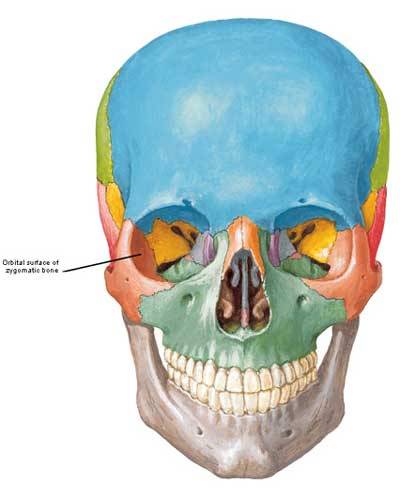
Photo L
After the beating, Murtagh helps our hero out of the hall but not afore Jamie casts a look at Claire: “Sassenach., I need you!” Well, that does it. Claire has ta’ git outta that Hall – NOW! Make way, Geillis! Ah, have patience Claire, a few more weeks and ye’re going ta get all the healing touches of Jamie ye want. Lucky Lady!
Soon enough, Claire tenderly soothes Jamie’s bruises: he’ll be sore for a couple of days, but he’s no really damaged. She is dying ta know why he took Miss LongHare’s punishment! In Outlander book Jamie answers Claire:
“Why not me?”…Why not? I wanted to say. Because you didn’t know her, she was nothing to you. Because you were already hurt. Because it takes something rather special in the way of guts to stand up in front of a crowd and let someone hit you in the face, no matter what your motive.”
Friends, if you have yet to read the marvelous Outlander books, I urge ye to do so as well as follow the Starz episodes! There are lots more to these vignettes than can fit into a 60 minute episode!

Then Claire delivers the sad news that tomorrow (Saturday) she is headed back to Inverness with Pitre the tinker! Jamie groans as he stands to say farewell. He is devastated. Are ye sobbin’ yet? He is!
Ah…breathe a sigh of relief – fate has a surprise in store fer Mistress Beauchamp. Yep, Colum and his lil’ Big Bad Bro willna let her go wit’ the tinker. Claire has to stay and take her own Beaton – er, the surgery I mean – that little “chamber of horrors” needs her healing touch too!
Now, looking fer remnants of Jamie’s beating – were the continuity detailers attending to details? Yep, they were. Many films show heroes beaten within an inch of their lives but they emerge moments later wit’ nary a scratch – keeps me up at night!
Here’s a great example. Did ye see Jamie hobble along wit his right arm drooping as the Teenage Trollop hauls him into an alcove ta have her way wit’ him (Starz episode 3, The Way Out)? Yep, he’s still hurting after that thrashing!
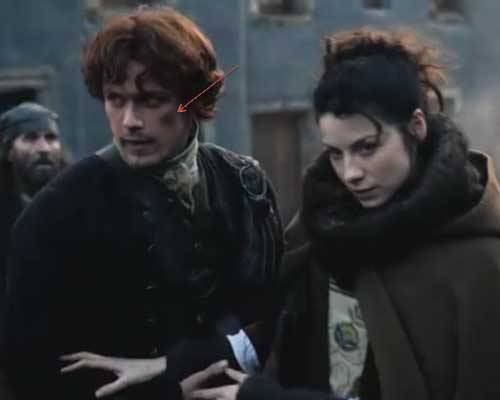
At the pillory (Starz episode 3, The Way Out), we glimpse a dark shadow over his zygomatic arch (red arrow) and mayhap a bit o’ black eye as he helps Claire from a feigned swoon – she who canna stand the sight of blood. Hah. Looks like a big old nasty bruise ta me! Verra nice.
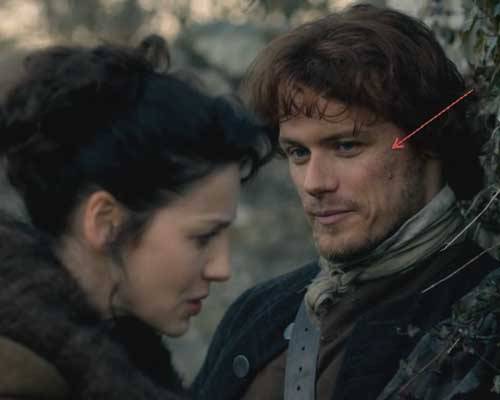
Finally, at the Black Kirk, Claire gives Jamie a botany 101 class explaining the difference between wood garlic and its deadly look-a-like, lily of the valley. This time we see up close the mottled bruising o’er Jamie’s zygomatic arch. Ahhh…he does have a lovely arch does he not?
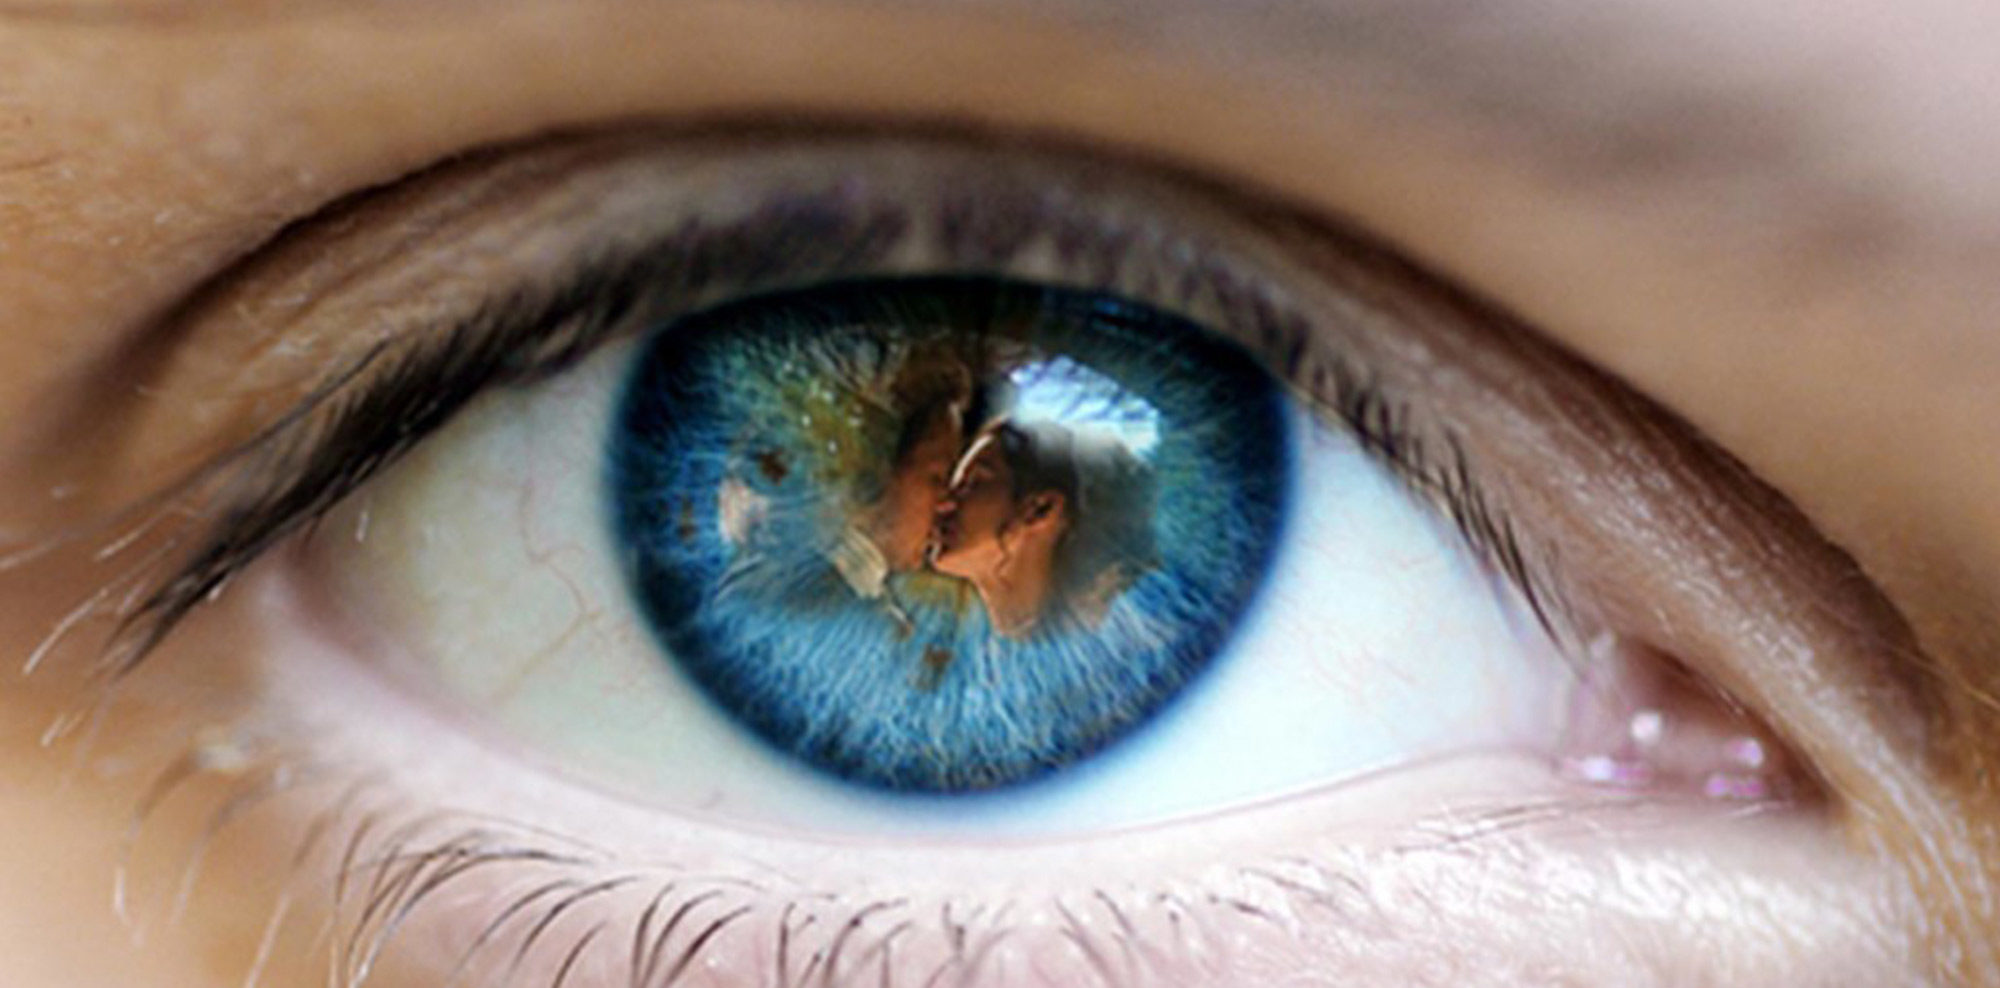
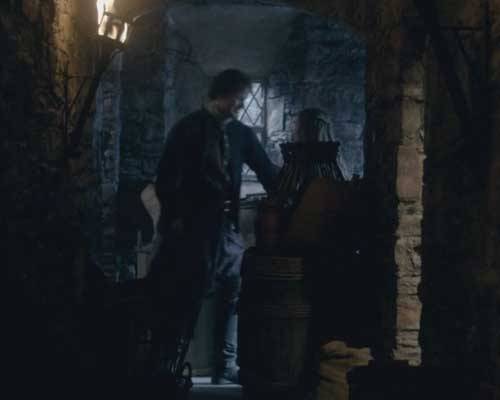
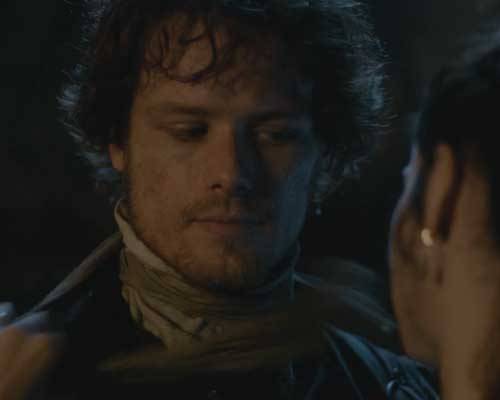
I’ll leave ye now with three wonderful images from Starz episode 3, The Way Out. At Gwyllyn the Bard’s performance, Claire is deep into Colum’s Rhenish. Ever watchful Jamie escorts her safely to her Beaton dungeon under the guise of needing help wit’ his bandage. Jamie, ye are the man! Claire decides to check his gunshot wound anyway and starts ta take off his clothes -weel, she just unties his stock and unbuttons his shirt but…Gah!
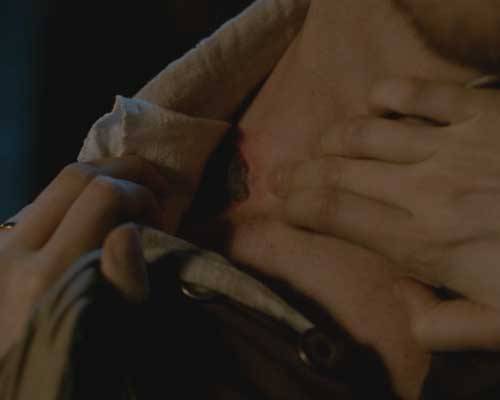
She pulls back the bandage: “Scabbed over nicely; no drainage.” She isna going ta let Jamie leave her surgery without feeling his fair, fresh skin. After all she is the healer and she is in charge!
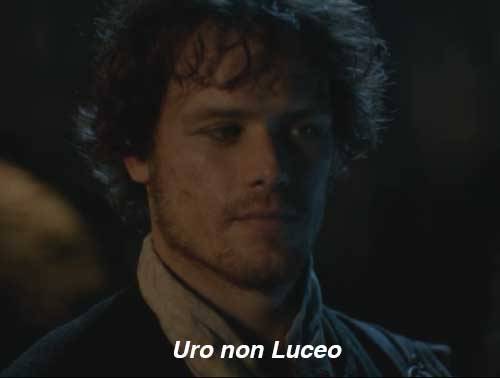
And, what is young Jamie’s thinking wit’ Claire half undressing him and putting her bonny fingers on him? Weel, look at his face. Ha’ mercy, lass! Ye are making it verra hard for the puir man. Snort! Jamie, he is silently taking’ the MacKenzie oath – only backwards. Jamie, man, ye BURN not shine!
OK, that does it fer this anatomy lesson. Thanks for joining me as we explored how Jamie’s wounds ne’er fail to bring on Claire’s healing touch! Hope ye all are hunkering down as the winter solstice approaches (in the Northern Hemisphere, anyway).
And fer those who are new to my blog, a note of explanation: I follow the convention of using the character’s names rather than the Starz actor’s names. This gives the cast at least one degree of separation and a wee bit o’ respect as I dissect their bodies with words! I hope ye all understand!
You can now follow me on Facebook and Twitter!
The deeply grateful,
Outlander Anatomist
Images courtesy of: Starz, www.wikihow.com, www.wikipedia.org, Kidney Health Australia, radiopaedia.org, Netter’s Atlas of Human Anatomy 4th ed., Hollingshead’s Textbook of Anatomy, 5th ed.