Haha. Just joshing. Claire doesn’t meets Jamie at a joint. Claire meets Jamie because of a joint! Welcome to Anatomy Lesson #2, the shoulder joint. Now, hold on just a sec, please don’t leave this lesson! This is great stuff – truly – and I promise to keep it interesting. I’ll even throw in a gratuitous shot of our favorite #JAMMF just to hold yer interest! Hee, hee, here ye go…
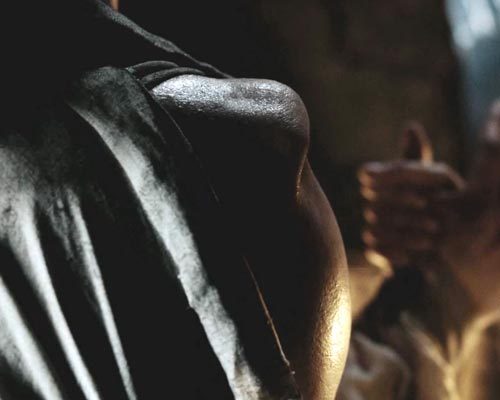
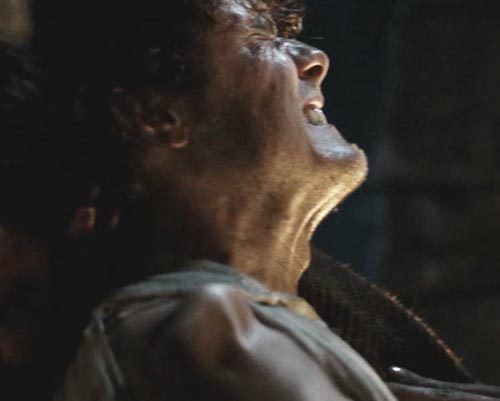
Better? Great! So, in Starz episode 101, Sassenach, Claire first sees Jamie seated on a low stool in a dimly-lit cottage. He is in pain. Herself enlightens us in Outlander book:
a dreadful hump rose on that side, and the arm hung at an impossible angle.
Now, what is the dreadful hump, what might have caused it, and how might it be resolved?
Anatomy to the rescue! Yep, it explains everything!
Hump: The hump is an bony part of the shoulder joint. The should joint is an essential part of each upper limb. Let me assure you, its anatomy is absolutely awesome! First, it is the MOST moveable joint of the entire human body (think of the shoulder joint during slow pitch or with a butterfly stroke). Second, the shoulder joint is a slightly misleading term because it is not one joint, but two – the glenohumeral joint and the acromioclavicular joint:
- glenohumeral joint: between humerus (arm bone) and scapula (shoulder blade) – note the spelling: humerus not humorous!
- acromioclavicular joint: between clavicle (collar bone) and scapula – this one is oft ignored but is crucial for normal function.
Together both joints form the “shoulder joint!”
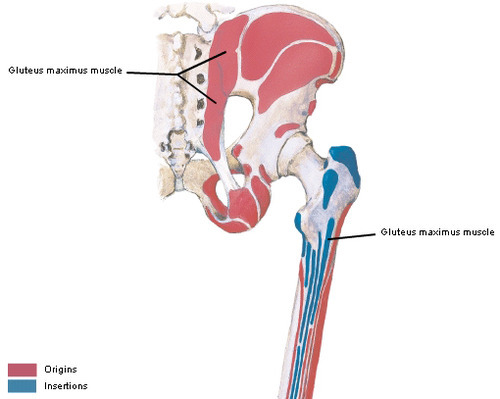
Glenohumeral Joint: At the glenohumeral joint, the head of humerus moves in the glenoid cavity (a.k.a. glenoid fossa), a small and shallow socket on the side of scapula.
The good news: because the glenoid cavity is shallow, the humeral head is highly moveable allowing for at least nine different defined motions.
The bad news: unfortunately, the shallow socket also allows the head of humerus to dislocate with relative ease! Get it? Grand!
Turns out that puir Jamie dislocated his glenohumeral joint (Image A – green arrow, right front view). Och!
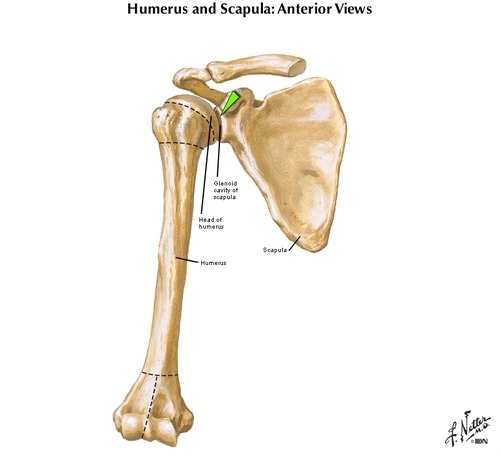
Image A
Acromioclavicular Joint: The acromioclavicular joint (green arrow in Image B – right front view) is a tight joint between acromion (also part of scapula) and clavicle. The clavicle acts as a strut holding the acromion away from the torso. Associated muscles contract to adjust positions of both clavicle and scapula (e.g. up, down, back, forward). And, amazingly, the acromioclavicular joint also guarantees greater range of motion at the glenohumeral joint.
Try this: Place fingers of one hand on the contralateral (opposite) clavicle. Now, move clavicle forward, backward, up, down. Now, roll it forward (as in doing the hoochie koo) and then backward. See how mobile the clavicle is? Amazing!
Now, move fingers to the scapula of the same side and repeat the same clavicular (adj.) movements. See how the scapula is carried along with the clavicle? This occurs because they are united at the acromioclavicular joint! And, increased scapular mobility means increased mobility of humerus as it is concurrently moved at the glenohumeral joint. Normally, the whole apparatus works together like a finely-oiled machine.
So, for example, each time you lift the clavicle and scapula, you can also raise your arm higher. Prove this to yourself: hold your scapula still and raise the arm of the same side. Find that you cannot raise the arm very high, but once you release the scapula to lift, the humerus can be raised to the full vertical position. Hoping this makes sense!
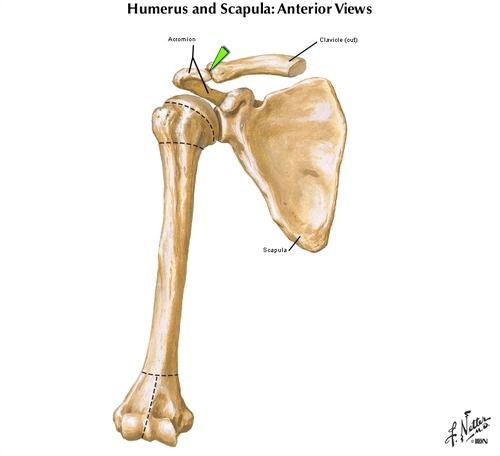
Image B
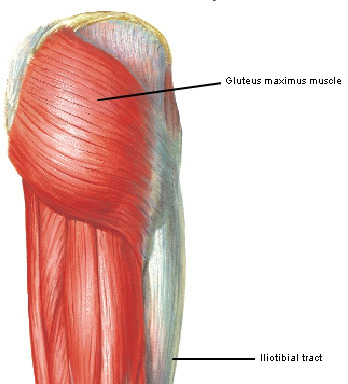
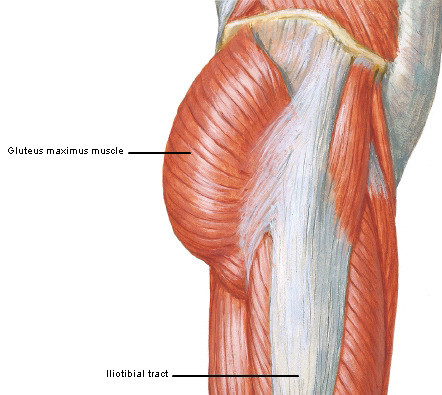
Acromion: The acromion (Image C – right back view) overreaches and protects the underlying glenohumeral joint. Acromion shares the same Greek word root with the Acropolis of Athens, meaning “peak” because both structures overlook what lies below. In lay terms, the acromion is better known as the “point of the shoulder.”
The “dreadful hump” on Jamie’s right shoulder is his right acromion, left high and dry because the humeral head is no longer in its socket (glenoid cavity). Gah! Deprived of the rounded contour normally provided by the humeral head, the acromion is revealed as a huge bulge of the shoulder area.

Image C
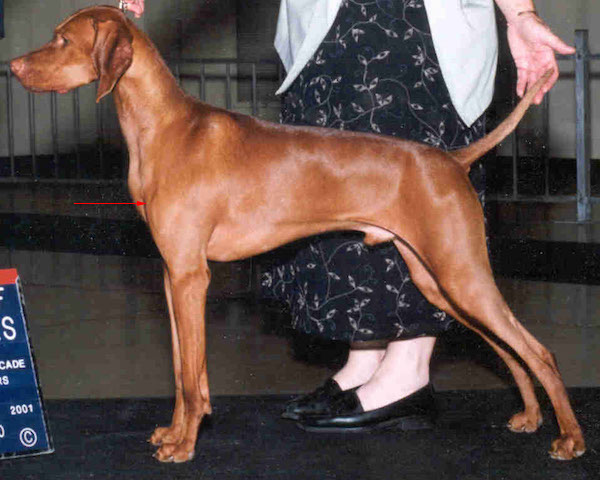
Try this: Palpate the point of one shoulder and feel the big bony chunk; this is the acromion of scapula. Now, check this area out on your wee dog or perhaps on a horse (‘cuz Jamie does like the horsies)! The acromion faces forward, coming to lie under the neck of these animals. Why? Because dogs and horses have no clavicles to hold the shoulder joint away from the torso, so, the entire scapula and its acromion are located on the sides of their chests – ours are on our backs.
The Bottom Line: Glenohumeral joints of dogs and horses are much more stable than ours but their range of motion is also greatly limited. We don’t see dogs running with front legs whirling like windmills. The photo is of a Vizsla, BTW.
Rotator Cuff: Now, if the glenohumeral joint is relatively unstable, what holds it in place? This is accomplished by some very strong ligaments and four muscles forming the rotator cuff. Also, the powerful deltoid muscle (Image D – green arrow denotes head of humerus) covers the joint, ligaments and part of the rotator cuff with a thick, protective muscular padding (especially in a lad like Jamie – <G>!).
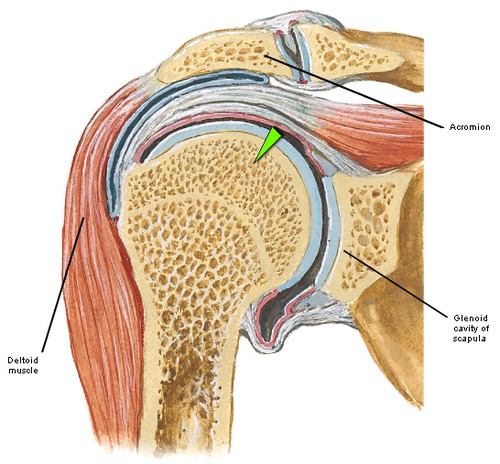
Image D
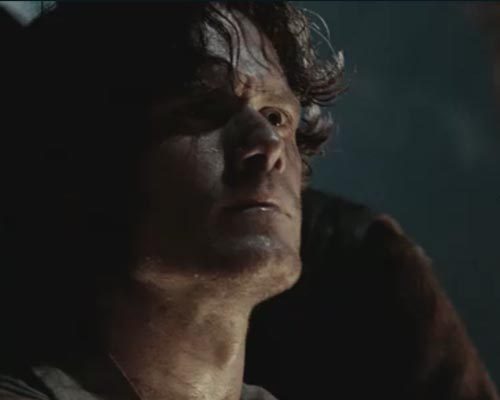
Ok, I can tell I am losing you. Wake up! Here, have another dose of our gorgeous hero!
Now, back to Starz episode 101, Sassenach: We hear the ever “tender” uncle Dougal mutter ”it’s out-o-joint, poor bugger.” Well, duh!
In Outlander book, Jamie explains:
I fell wi’ my hand out, when the musket ball knocked me off my saddle. I landed with all my weight on the hand, and crunch!, there it went.
Now, folks, falling on an outstretched arm/hand is the classic cause of an anterior dislocation of the glenohumeral joint, wherein the humeral head is thrust forward (anterior) and out of the glenoid cavity. This stretches and tears ligaments and muscles and, sometimes, cartilage.
Back to episode 101, Sassenach… Our favorite goof, Angus, delicately raises one brow and declares in his best practitioner’s voice:
I’ll have to force the joint back!
Yeah, right, Angus! He and his brawny pals start forward only to be stopped in their shoon by awesome Claire using her best Hospital Matron voice:
Don’t you dare…stand aside at once!”
She then enlightens Dougal, who, no doubt, is one of the brighter bulbs in that crofter’s cottage:
You have to get the bone of the upper arm into the proper position before it slips back into joint.
Now, at this point, our sweet hero is looking a wee bit dubious about this whole “girlie” thing. Well, it’s either Claire or Angus. Who would you choose? I’d go with the shift, too, sweet lad.

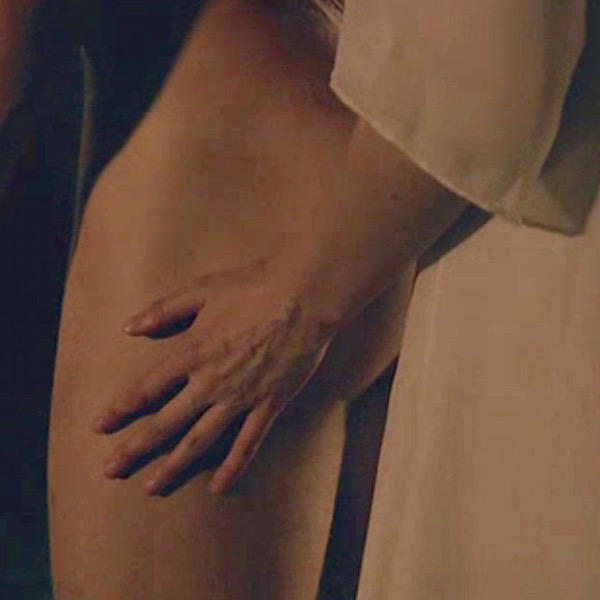
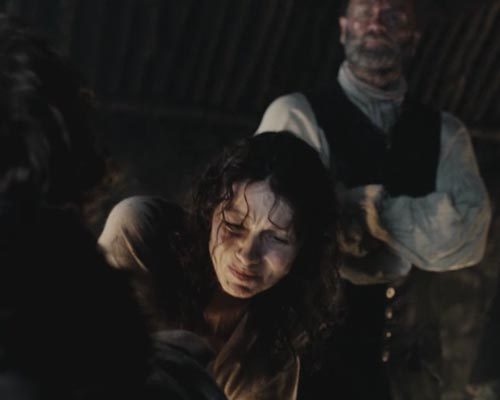
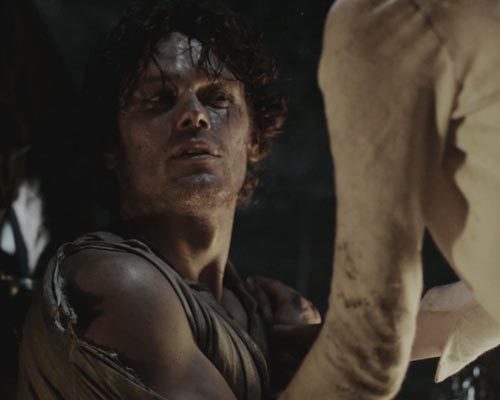
After obtaining Jamie’s nod of assent, Claire grips his right wrist in one hand and his bent elbow in the other. Lifting with considerable effort, she rotates his forearm to his right side (external rotation), a maneuver that aligns the humeral head with glenoid cavity.
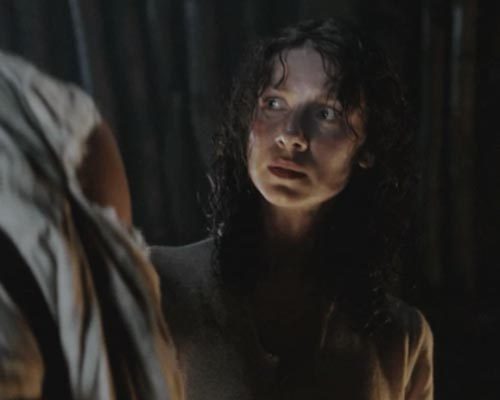
The considerable resistance Claire encounters (just look at our strong, winsome heroine!) is due to swollen muscles, torn ligaments, and the weight of his “heavy as lead” arm!
Then, warning Jamie that the worst is yet to come, Claire holds his bent elbow against his torso, and gripping his right hand, rotates his forearm to his left (internal rotation), a maneuver designed to reseat the humeral head in the glenoid cavity!
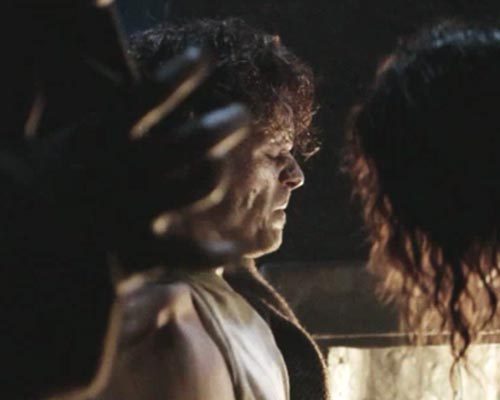
Suddenly, Jamie’s shoulder gives a soft, crunching pop as the humeral head slides home into the glenoid cavity and the dislocated joint is reduced. And, folks, it hurts, especially several hours post-injury – truly! Kudos to the special effects crew for the CGI/prosthesis!
Just ask Angus…Och!
Next and this is very sweet, Jamie says he’s
takin’ a guess she’s done this afore.
Trust me, Claire assures him:
I’m a nurse!
Har, har! Jamie eyes immediately drop to her bosom and he responds:
Aye.
Ah, well, he may be injured, but his other brain seems intact! What was he thinking’? Do me eyes behold a sweet avenging angel? A wee demon? A biting vixen? But, whatever she is, thank the stones she’s NOT A WET NURSE!
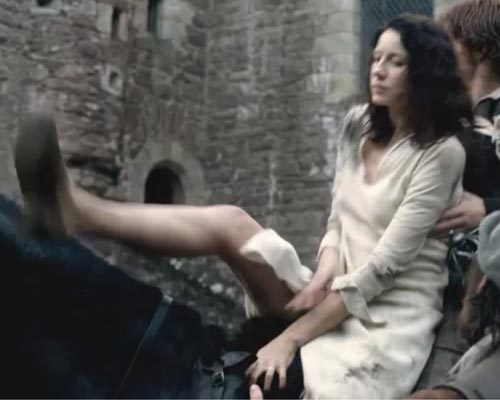
Now, just in case ye missed it, take a look at Claire’s eyes when she sees Jamie’s muckle size as he rises off the stool. She even has the good sense to blink a few times. Yup, he got her attention alright and she got his. There’s a sizzle on the griddle, now!
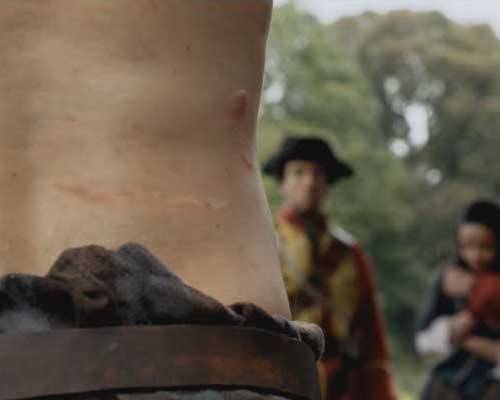
Fun Fact: Did you know that Claire could have employed a much older method of reducing Jamie’s dislocation? Hippocrates (460-370 B.C.), father of western medicine, devised the Hippocratic maneuver, wherein the practitioner places the heel of his/her foot into the armpit of the dislocated side and pulls on the corresponding wrist to reduce the dislocation. I would love to see Claire pull that one off! Without a doubt, she is flexible enough to stick her foot in Jamie’s oxter. Check out her graceful dismount from Jamie’s steed in the castle courtyard, Starz episode 102, Castle Leoch! Watch out, Rockettes!
Realism: OK…question: was the scene from episode 101 realistic? Is it likely that a WWII combat-trained nurse such as Claire might know how to reduce the dislocated humeral head using the method shown? Oh, aye, because the procedure she employs looks verra much like the Kocher maneuver, developed in the 19th century by a Swiss surgeon of the same name. Although other reduction methods are now available, Kocher was widely used for over a century and Claire could very well have learned it in training or as a combat nurse.
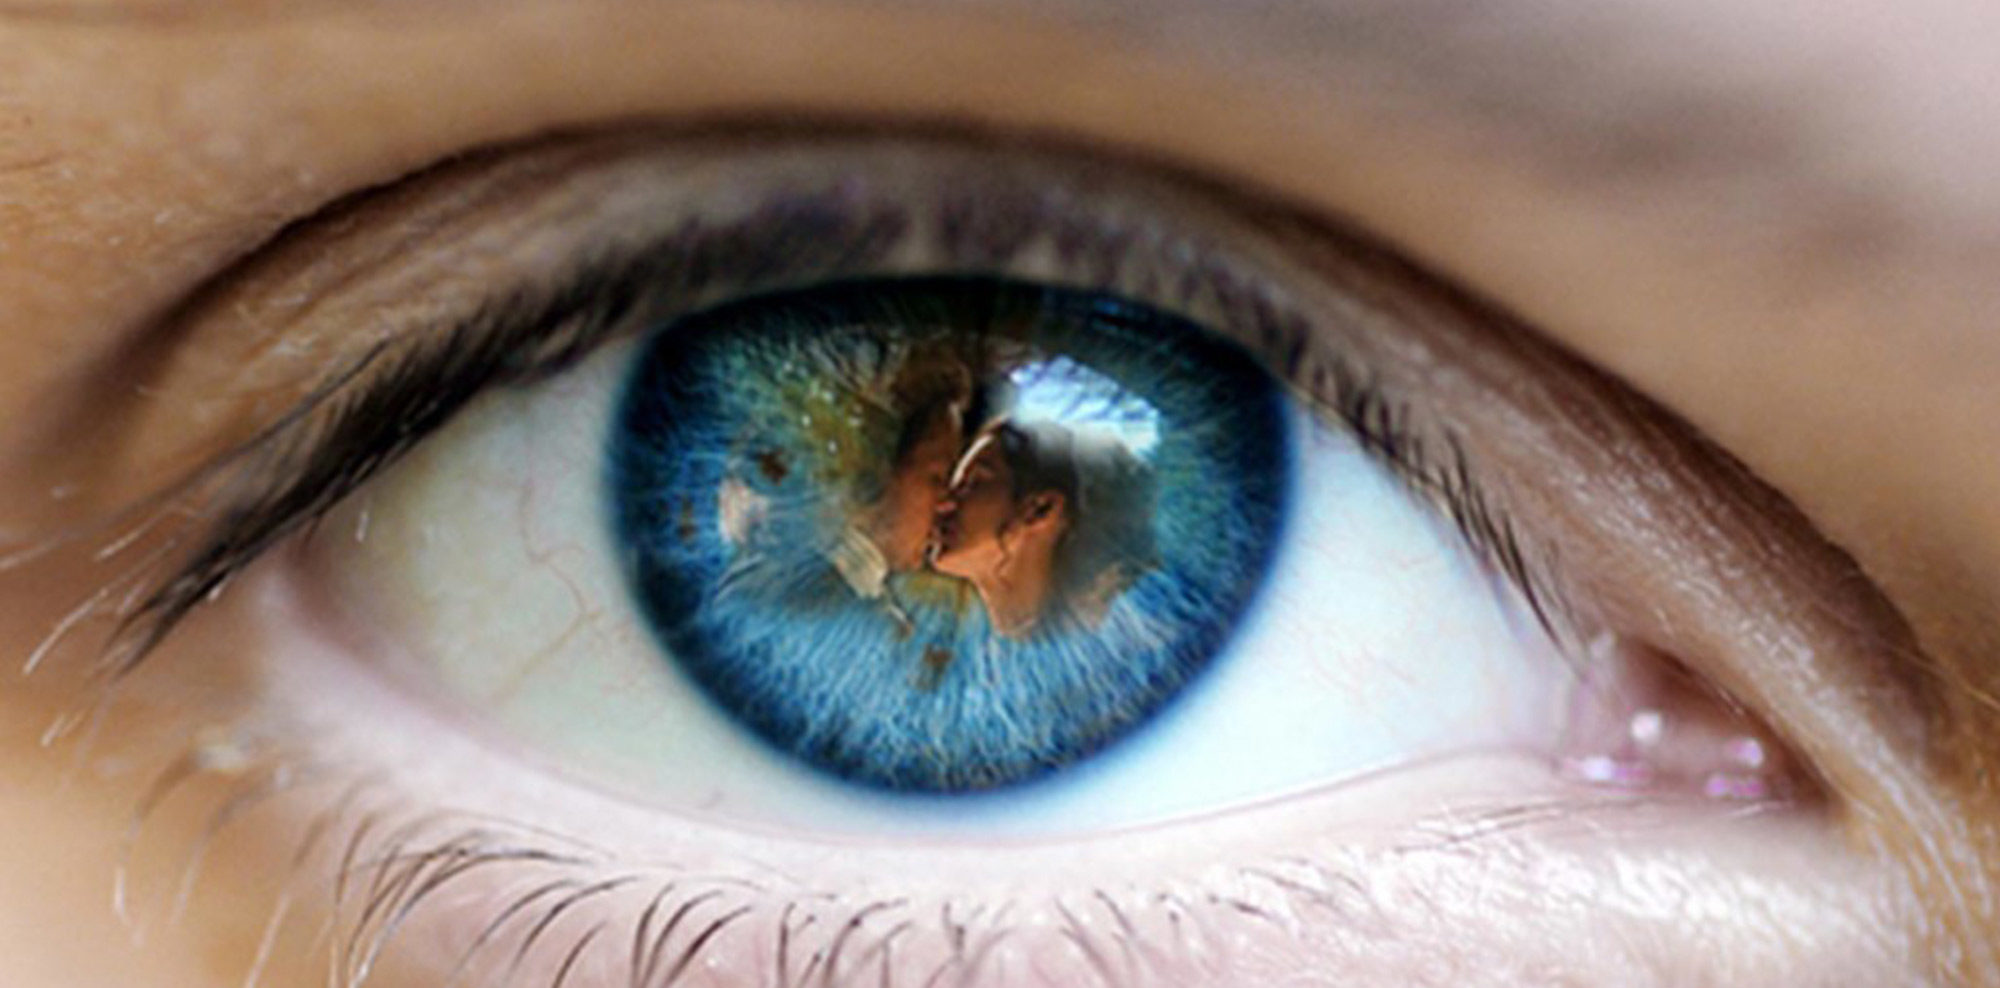
Another realistic feature, check out Jamie’s eyes in episode 101. Throughout the entire scene, his pupils are VERY dilated. This is also highly realistic because the pain of dislocation would initiate the fright/flight/fight reflex, dilated pupil being a prime feature of that response! His pupils are soooo dilated that the rims of his irises are barely visible!
Overall, this vivid scene was realistic, dramatic, and extraordinary in most every detail. Congratulations to the cast and crew! If you readers are interested, here is a link to a YouTube demo of the Kocher reduction.
My next post may well review Jamie’s other injury sustained in Starz episode 101, Sassenach. Please stay tuned and see what’s next! After all, we have to keep engaged until April of 2015! Geez, Starz…soooo harsh!
Just for fun, consider a few shoulder idioms, use used to convey important emotions:
- broad shoulders
- cold shoulder
- shoulder to cry on (I like this one)
- have a chip on the shoulder
- put shoulder to wheel
- square one’s shoulders
- on the shoulders of giants
- a weight off the shoulders
- rub shoulders with
- looking over shoulder
Yadda, yadda, yadda. You get the drill. Hope to see you at Anatomy Lesson #3!
The deeply grateful,
Outlander Anatomist
Photo credits:
Starz; Frank Netter’s Atlas of Human Anatomy, 4th edition, Outlander Anatomist private collection.